
About:
I was just wondering about to post such an
article... In this tutorial, you will learn how to manage and add “Run
as Administrator” to any File Type.
But, the question is “Why it is needed to do
this?”. OK... It’s all about Windows Vista and higher versions of Windows...
not for Windows XP. Simply, in these windows when you run a program, you don’t
have full power to govern it, i.e. There would come certain circumstances when
you fail to do a particular job. FOR EXAMPLE, if you’ve installed winrar in
your computer, then it’s easy to understand it, when you open a .zip
file or any other this type of file. You might be unable to extract files
to C:\ Drive (Windows drive). That’s it to take full control, you have
to do this. In this tutorial, I’m giving you example of .zip file...So,
it’d be a sample for you. :)
Procedure:
1.
You have to open
registry editor. To do this:
·
Press Windows+R key
to open run window, or go to Start>Run.
·
Write regedit.exe
and press enter.
2.
Now, expand HKEY_CLASSES_ROOT.
And, look for .zip. [HELP: All the file extensions should be
found at the top. They are sort by name.]
3.
Click it. You will
see winrar.zip, at right of the string named (default).
Actually, it’s not necessary, if you’ve installed WINRAR and it’s associated
with it. Then, it should be this as I said...
·
NOTE: This step is
important, ‘cause it gives you the name of that program which is associated
with the file type. As I’m giving you the example of .zip and the
program that runs it is WINRAR. So that’s why it shows winrar.zip. It
might be different...in other cases. See screenshot below:

4.
Now, find that name
i-e winrar.zip in HKEY_CLASSES_ROOT.
5.
Expand it, then
expand shell>open, right-click on command and
click on Export. Save the file anywhere by a proper name
[Suppose: xxx.reg]

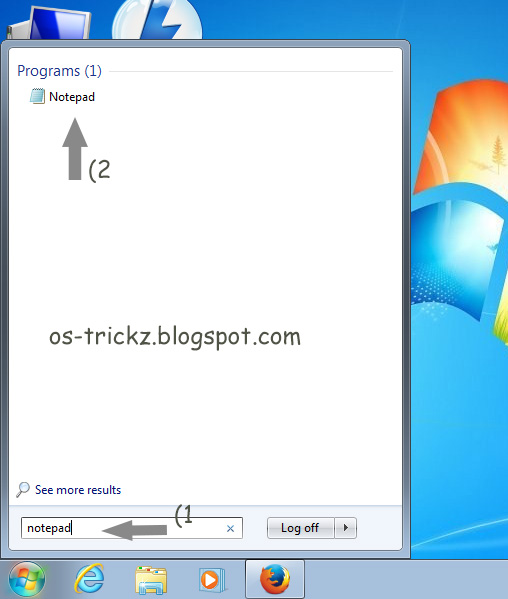
6.
Now, open the file
with notepad.
7.
Replace “Open”
with “runas”. Save and exit.

8.
Now, open that
edited registry file and add the information.
9.
Now, you will see
that “Run as administrator” is being showed in the right-click
menu of .zip file. That’s it...


.jpg)


